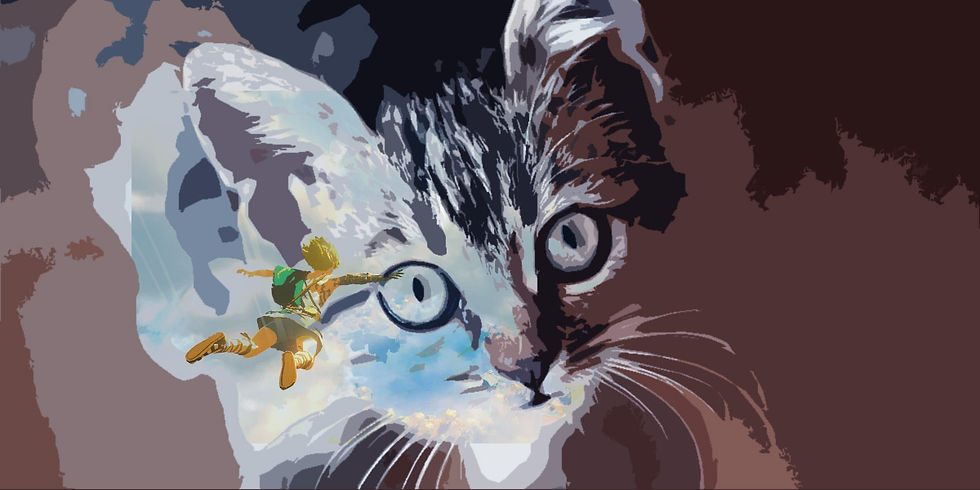
Here is the photo I edited using some of the techniques within tutorial #1. I chose my base image as a picture of a cat (relevant to my project ideas), and a picture from one of my favorite video game series (Zelda). I messed around with some of the filters to get this neat looking simplification of the cat photo (I used the filter "Cutout"). Then I changed up things like contrast, saturation, brightness and things like that via "Image adjustments". Finally, I did some layer blending by adding the Zelda picture and choosing "Darken" as the blend mode. I chose this mode because it picked out the white spots of the cat to bring out the image, so it had a nice and natural blend onto the cat so it looks like part of the cat is this image of Link (the name of the character in Zelda) skydiving. I know it isn't the best, but I was able to learn much about the program just through this one example.
Comments